

Anyone can do it and I'm going to prove it to you all!
And you don't need a lot of fancy bags and tips and impossible to find decorating tools.
I did it! And I'm no cookie decorator. But I have friends (on Facebook) who are.
And they are all so wonderful, sharing what they create and how they create it.
At the end of this post is a list of all the wonderful, talented, helpful, cookie people I've found, but for this post we're going to focus on what Callye at Sweet Sugarbelle taught me. Because her tutorials just made it "click" in my head, and now because of her, I'm not ashamed to try and make a pretty cookie instead of the drop cookies I usually make.
To make Royal Icing you need to watch her tutorial on 20 second icing The entire post is really helpful and all the videos are short, Callye gets right to the point!
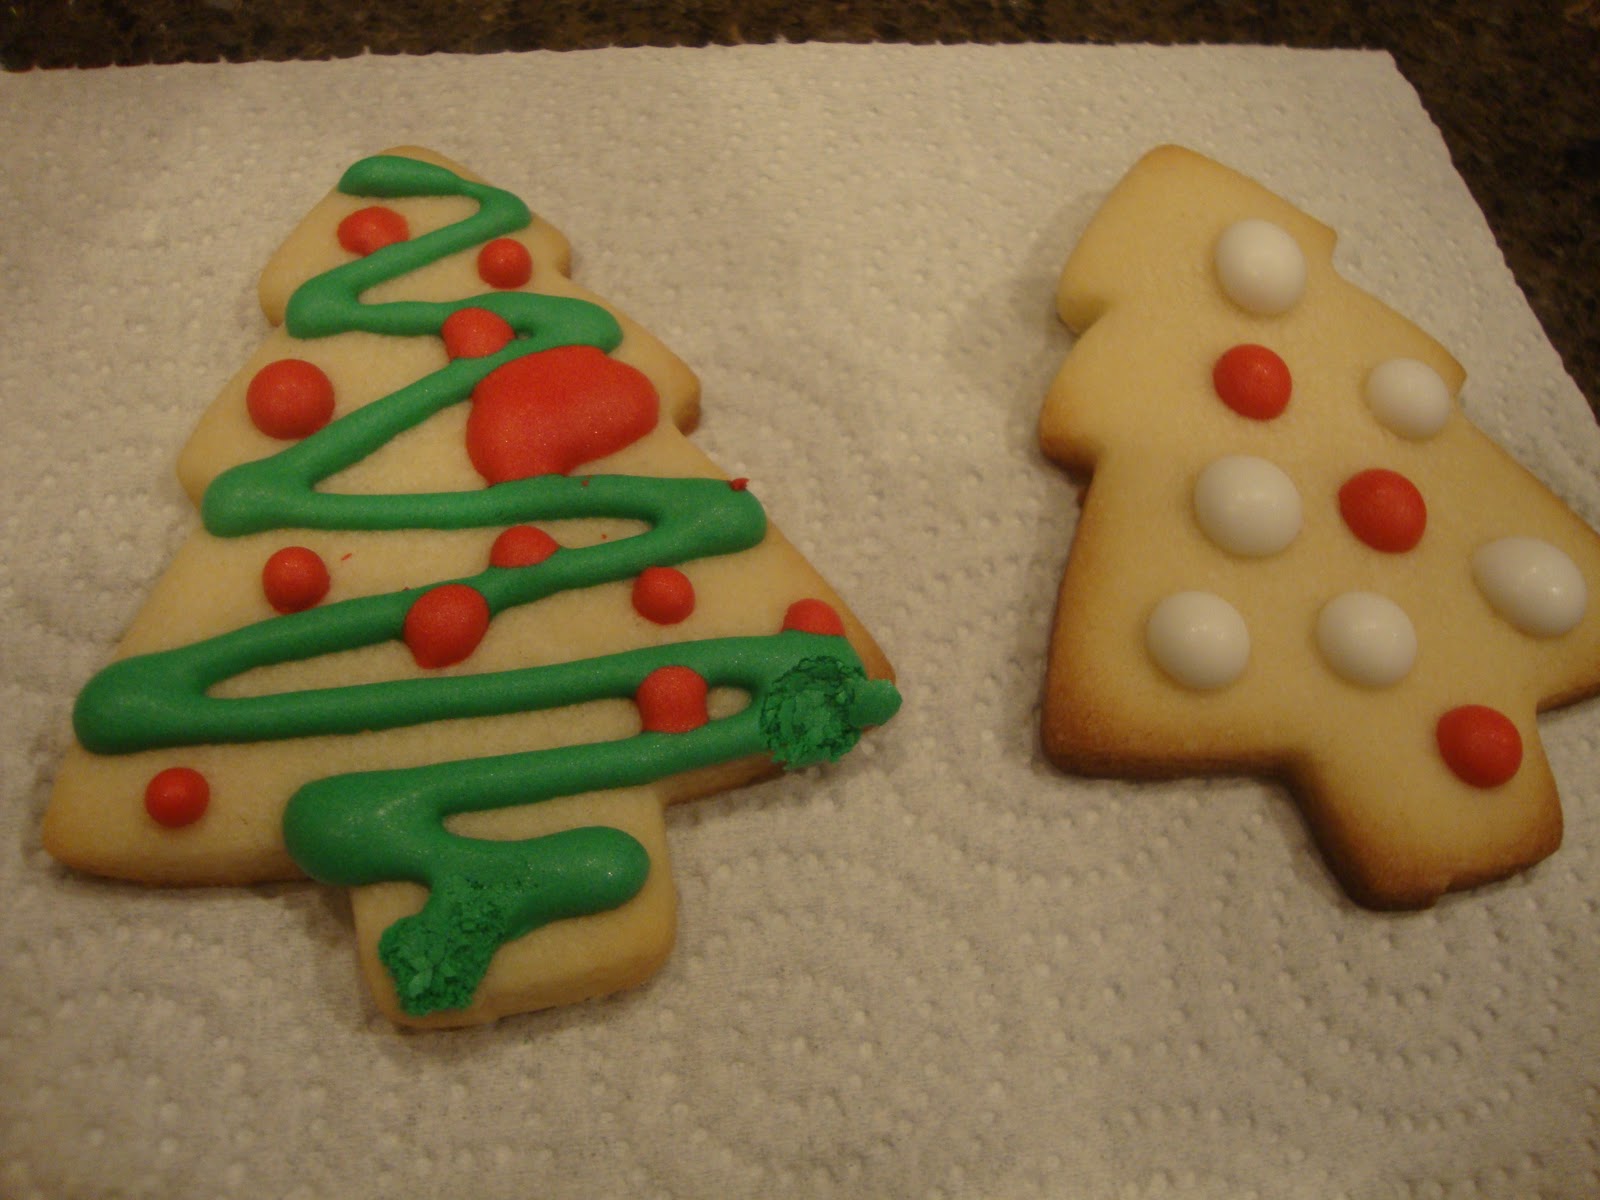
I used Sugarbelle's Basic Sugar Cookie Recipe. Just like her Icing, it's no fail, I love it and it tastes great! I chose a candy cane and a cookie man for shapes. Keep it simple starting out.
Now if you've done what I told you and watched Sugarbelle's Tutorials, you are now ready to start. Make your royal icing, using Sugarbelle"s Royal Icing get it on the thick but pourable side. The easiest way to "water down" your icing is using a plant mister, spray bottle, call it what you want. Use it. It works. And it will take a lot of misting to go from the Royal icing to get to the 20 second icing.
You all need to trust me on this, it's really worth getting "it". I've had so much fun since I got "it" that I'm looking for excuses to make cookies.
So you have baked cookies, and you have your 20 second icing. Now for some fun. Remember my promise of no fancy tools. Here's all you need to make simple but beautiful, ALL THE OTHER MOMS ARE GONNA HATE YOU, cookies.

2 bottles.
And I already did all the research for you.
You want the wide mouth bottles. Make sure they are wide mouth unless you just like pouring icing all over your counter.

the one on the left is bad, small hole, makes big mess
Wilton makes a 2 pack decorating bottle that I found at Michaels for under $3.00. It was by the candy melts. Hobby Lobby didn't have any bottles in the cake decorating section but in the paint section they had the bottles I wanted for $1.89 each. And I'm sad to say I found nothing at Walmart.
And when I got home, I remembered I had these bottles that we use for barbecue sauce in the cabinet.

Just make sure your hole isn't too big.

So you've got your cookies baked, you've got the right bottles. You've made your icing. now make a design.

This is just a guide. I traced my cutters then just shaded the areas I wanted for red. Oh and I so copied the idea for my cookie men from the King Arthur Flour catalog, yes I did!
Color about 1/3 of your icing. I used the Americolor Red, everyone is so right about those food colorings, I probably would have had to use a whole container of another brand to get this red.

(and Callye's tip on storing icing, is right on, I actually had this left over from my second try of Royal Icing, just stored it in the fridge, just like she told me)
Now pour into your bottles

Time for the real fun! Decorating!
Again, I watched Callye's tutorial on the 20 second icing, her 3rd and 4th videos show how to use it! Go back and watch one more time if you need to.
Now just try it!


I know what you're thinking,
this will be hard,
Joan bakes all the time,
blah, blah, blah
I only decorated 3-4 cookies,
my 12 year old did all the rest!

Be sure to wait about 20-30 minutes before adding the second color to your cookies,
you want that first color to start setting up.


Want to add a little fun, right after applying the icing, add some sprinkles, let it set for about 30 minutes then carefully shake off and continue


Be sure to let your cookies dry for several hours, overnight is best.
And still think you can't do it?
A friend dropped by, to drop off her daughter for the night and she just popped these off in 5 seconds
The mushed spots are from impatient 9 year olds wanting to touch, lol
Still think you can't do it?


How about two 9 year olds?

So lets do a quick recap
my first try (before Callye and Sweet Sugarbelle's tutorials)

My second try, after getting "it"

And my 3rd time

Here are my tips for starting out.
*Keep it simple, either make small cookies or just don't try to cover the entire cookie. Working in small areas works best.
*Practice on those first few cookies, you know the ones that are a little burnt around the edges.
*Have fun with it, even if they look ugly, they still taste really good!
Now here's the list of all my cookie friends, I've linked both their web page and their Facebook pages, I like finding and "liking" them on FB, then whenever they post a new cookie they're just so excited about sharing, I get to see it right away.
Sweet Sugarbelle's and Sweet Sugarbelle's on FB
Sugar Cookie Design and Sugar Cookie Design on FB
Cristins Cookies and Cristin on FB
Baking in Heels and Baking in Heels FB
Glorious Treats and Glorious Treats on FB
Hugs and Cookies xoxo and Hugs and Cookies on FB
Bake at 350 and Bake at 350 on FB
Bakingdom and Bakingdom on FB
Cookies in the Cupboard and Cookies in the Cupboard on FB
Karen's Cookies and Karen's Cookies on FB
The Decorated Cookie and The Decorated Cookie on FB
Cookies and Cups and Cookies and Cups on FB
Toss your Cookies on FB
The Occasional Cookie on FB
Whip it Good Cookies and Whip it on FB
Cookies are my Canvas and Cookies are my Canvas on FB
Frosting-Cakes and Cookies on FB
Desserts by Annie and Desserts by Annie on FB
JP Creatibles and JP Creatibles on FB
The Baking Sheet and The Baking Sheet on FB
One Tough Cookie and One Tough Cookie on FB
Cookie Crush on FB
Brown Eyed Baker and Brown Eyed Baker on FB
Charmpam Cookies and Cupcakes and Charmpam on FB
Sugar and Meringue and Sugar and Meringue on FB
Sweetopia and Sweetopia on FB
The Cajun Cookie Lady on FB
Laura's Cookies on FB
The sugar Tree and The Sugar Tree on FB
I'm sure there are many more out there and if I've left you off, please let me know and I'd love to add you.
It's what we all do this for isn't it, to share? I can't imagine what my cookies would look like if Callye and all the rest hadn't shared their talent with me.
I've shared this at
The Newlyweds Blog link up
Recipe Lion Blog Hop
Everyday Mom's Meals Church Supper
Food Corner
and

They look gorgeous, great job Joan!
ReplyDeleteGreat job! I will have to find that brand of red coloring... I have tried many different kinds they either come out white... or have that nasty food dye taste!
ReplyDeleteCute! Nice job!
ReplyDeleteThis is wonderful! I can't wait to use this for our Christmas cookies this year..thanks for all the great information and the research you've done. Your cookies look wonderful :)
ReplyDeleteGreat post.....I learned EVERYTHING from watching Callye's tutorials. I've not been at this long at all. She's a fantastic teacher. Thanks for linking my page at the bottom. :) It's very much appreciated.
ReplyDeleteThanks Ladies, once I got "it" I was just so excited to share with everyone!
ReplyDelete@Giselle thank you for sharing your talent with the rest of us!
Beautiful work, Joan!!
ReplyDeleteThese look better than ANY cookie I've ever seen done in a bakery!
Omg O loooooove Calle's 20 second icing! !! These are adorbs!
ReplyDeletegreat work.They look very beautiful...Thanks a lot for sharing with the event @food corner...
ReplyDeleteYes! This is exactly what I wanted - and now I CAN. Thank you Joan!
ReplyDeleteYay, can't wait to see your next batch of cookies!
Delete